
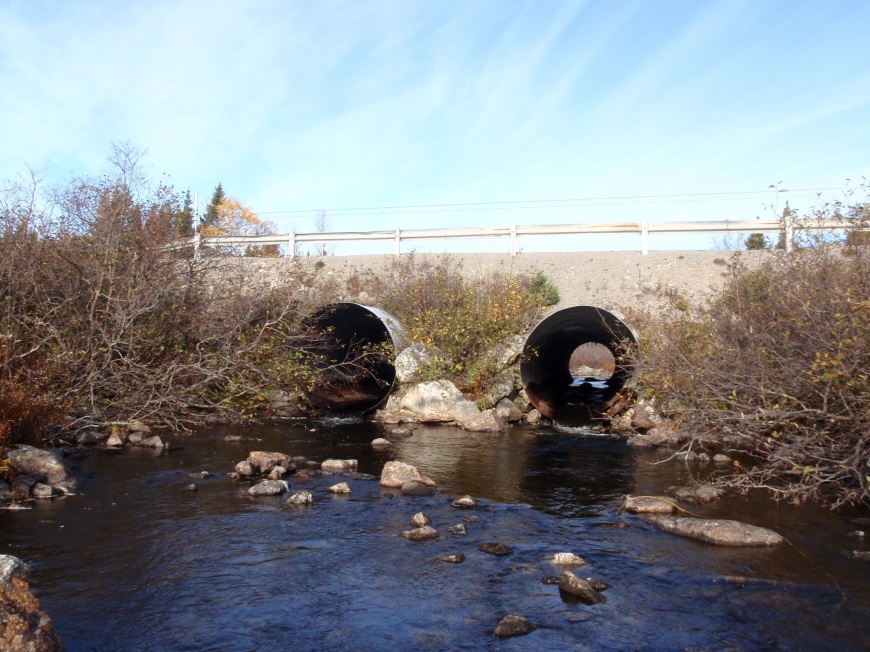

Figure 1: Before (top) and after (bottom) weir installation
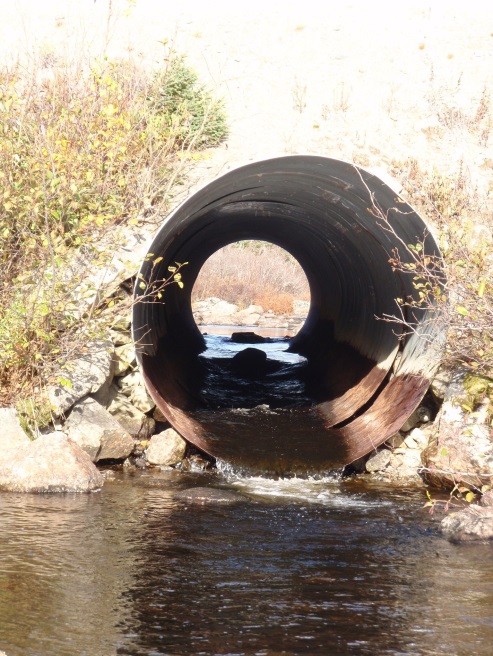
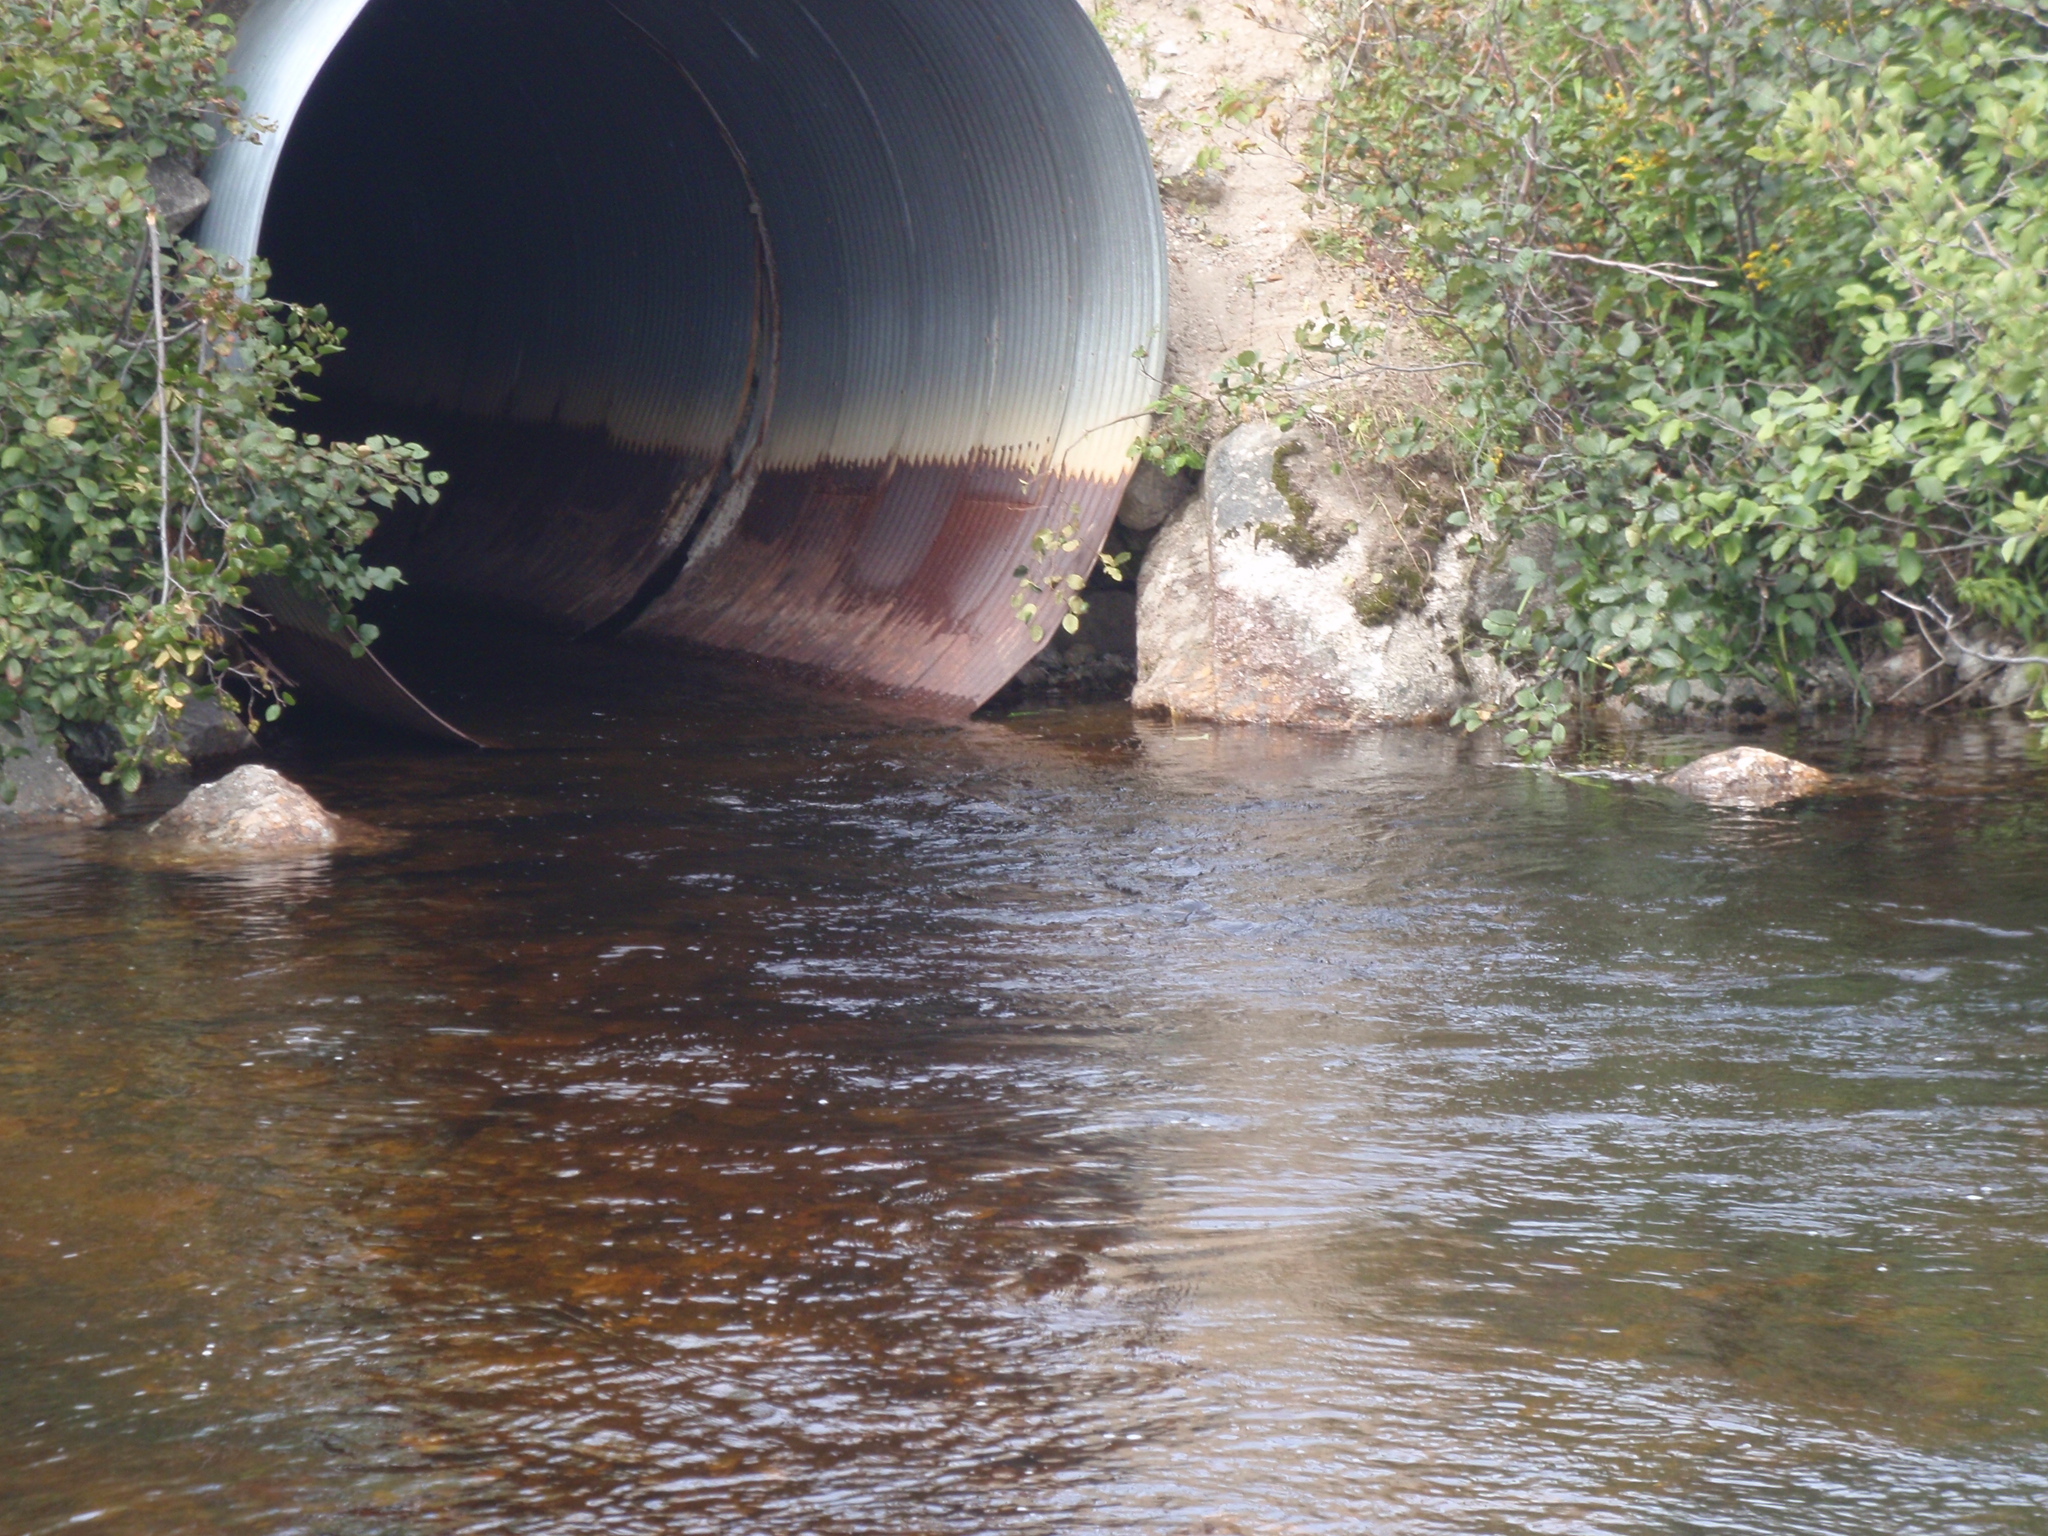
Figure 2: Before (top) and after (bottom) weir installation.
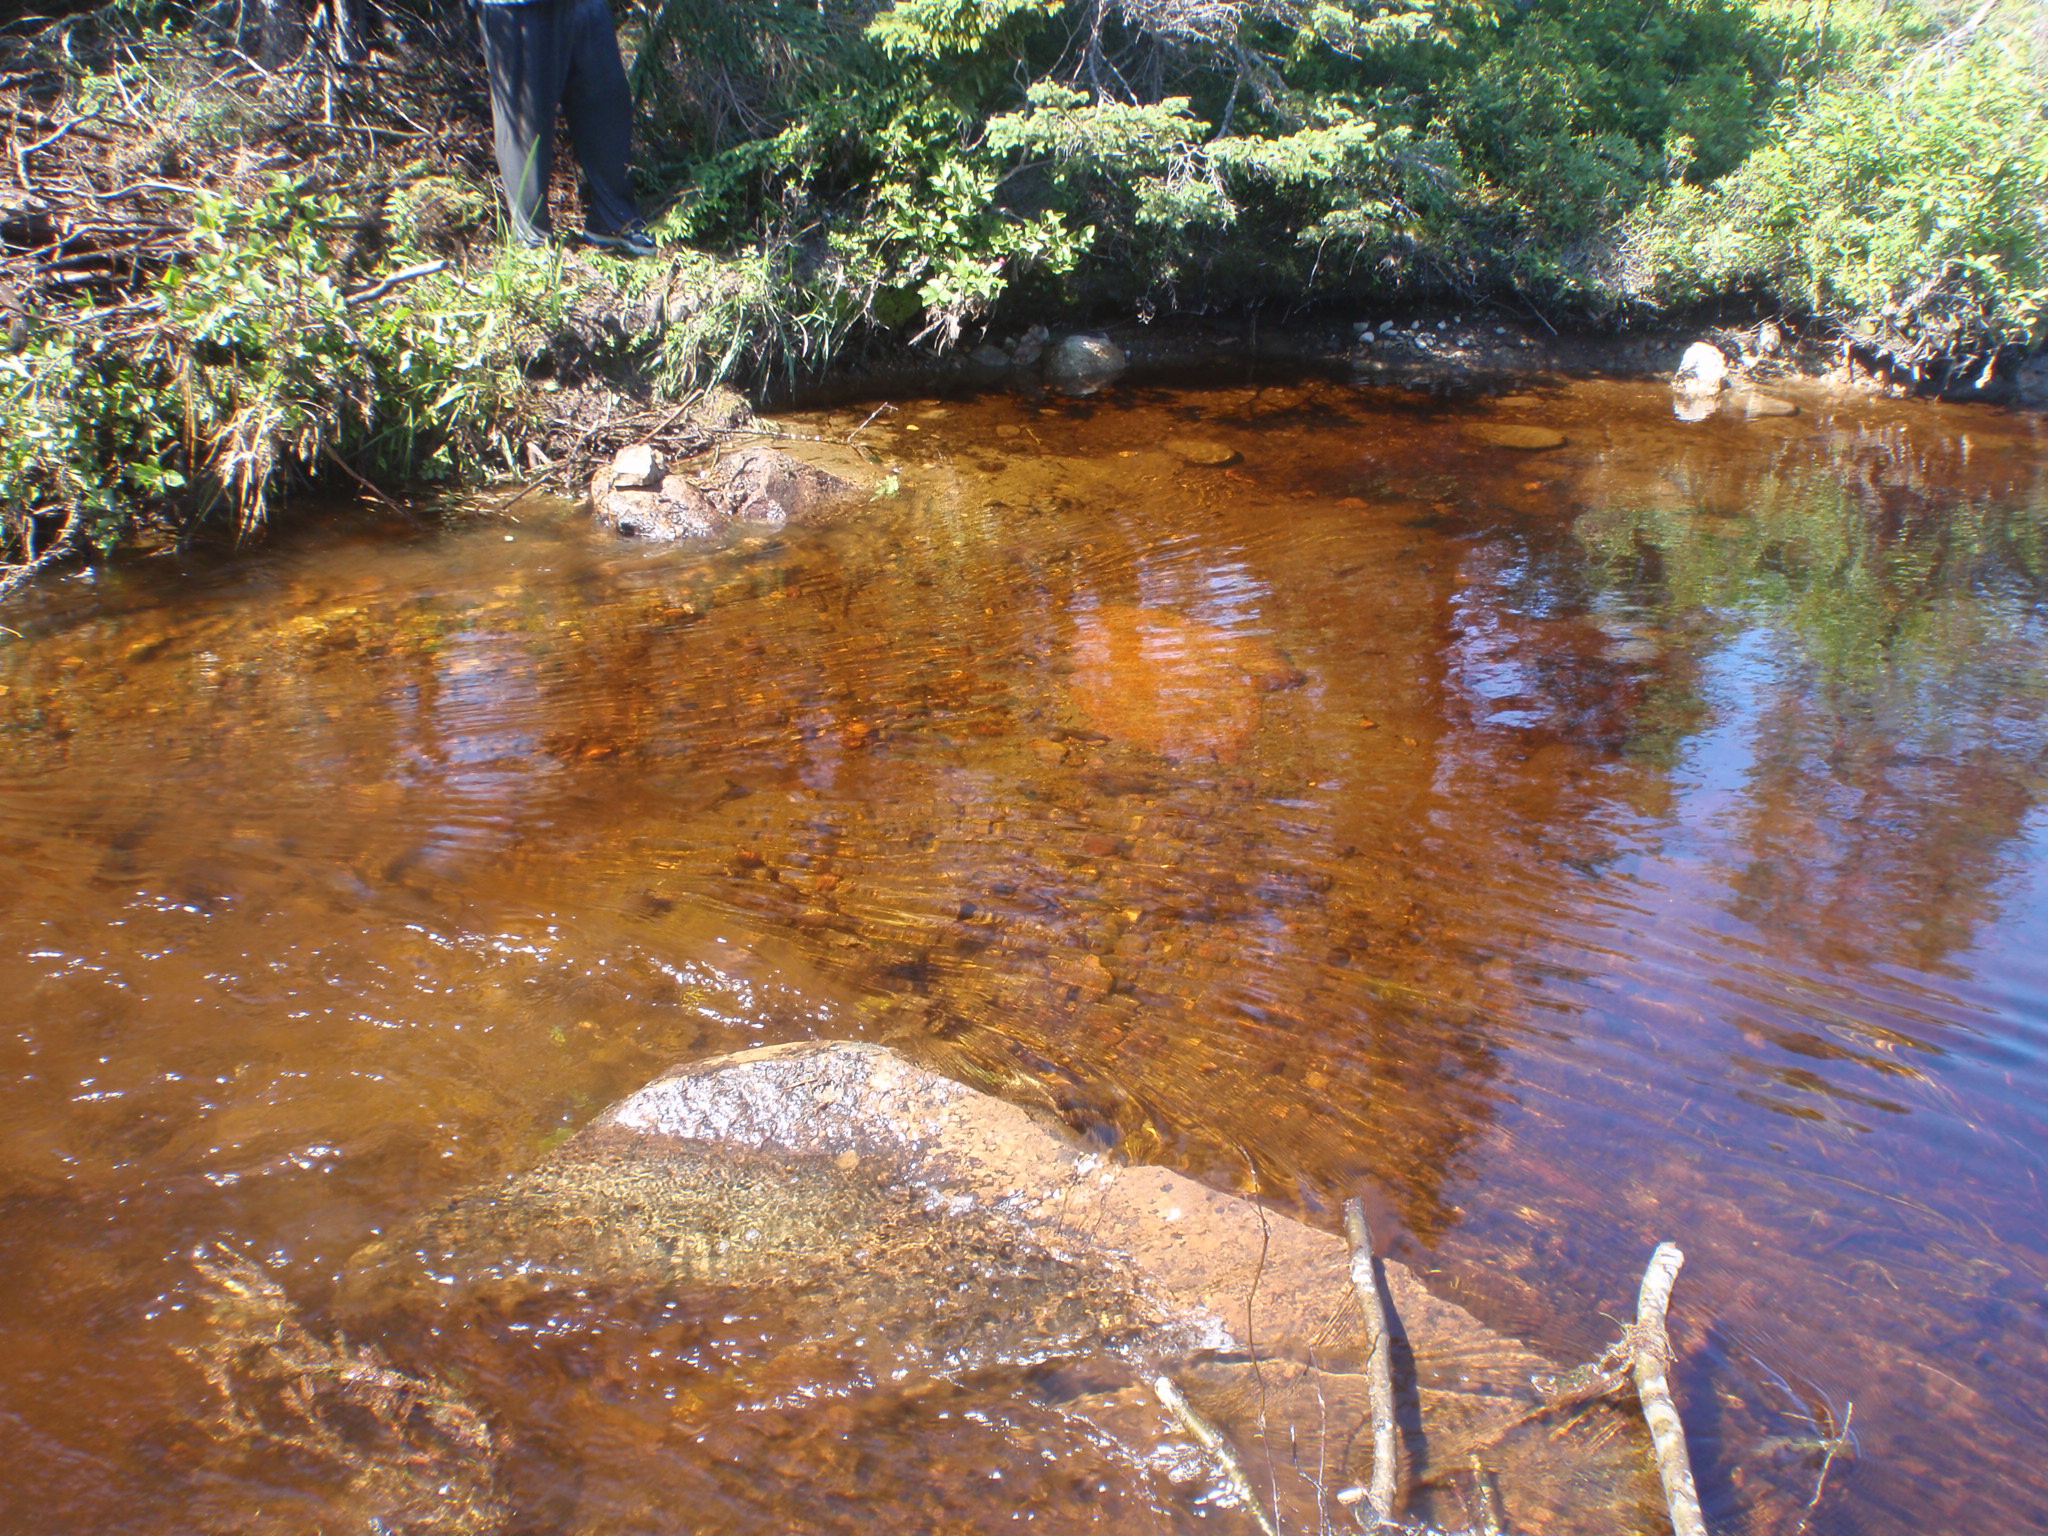
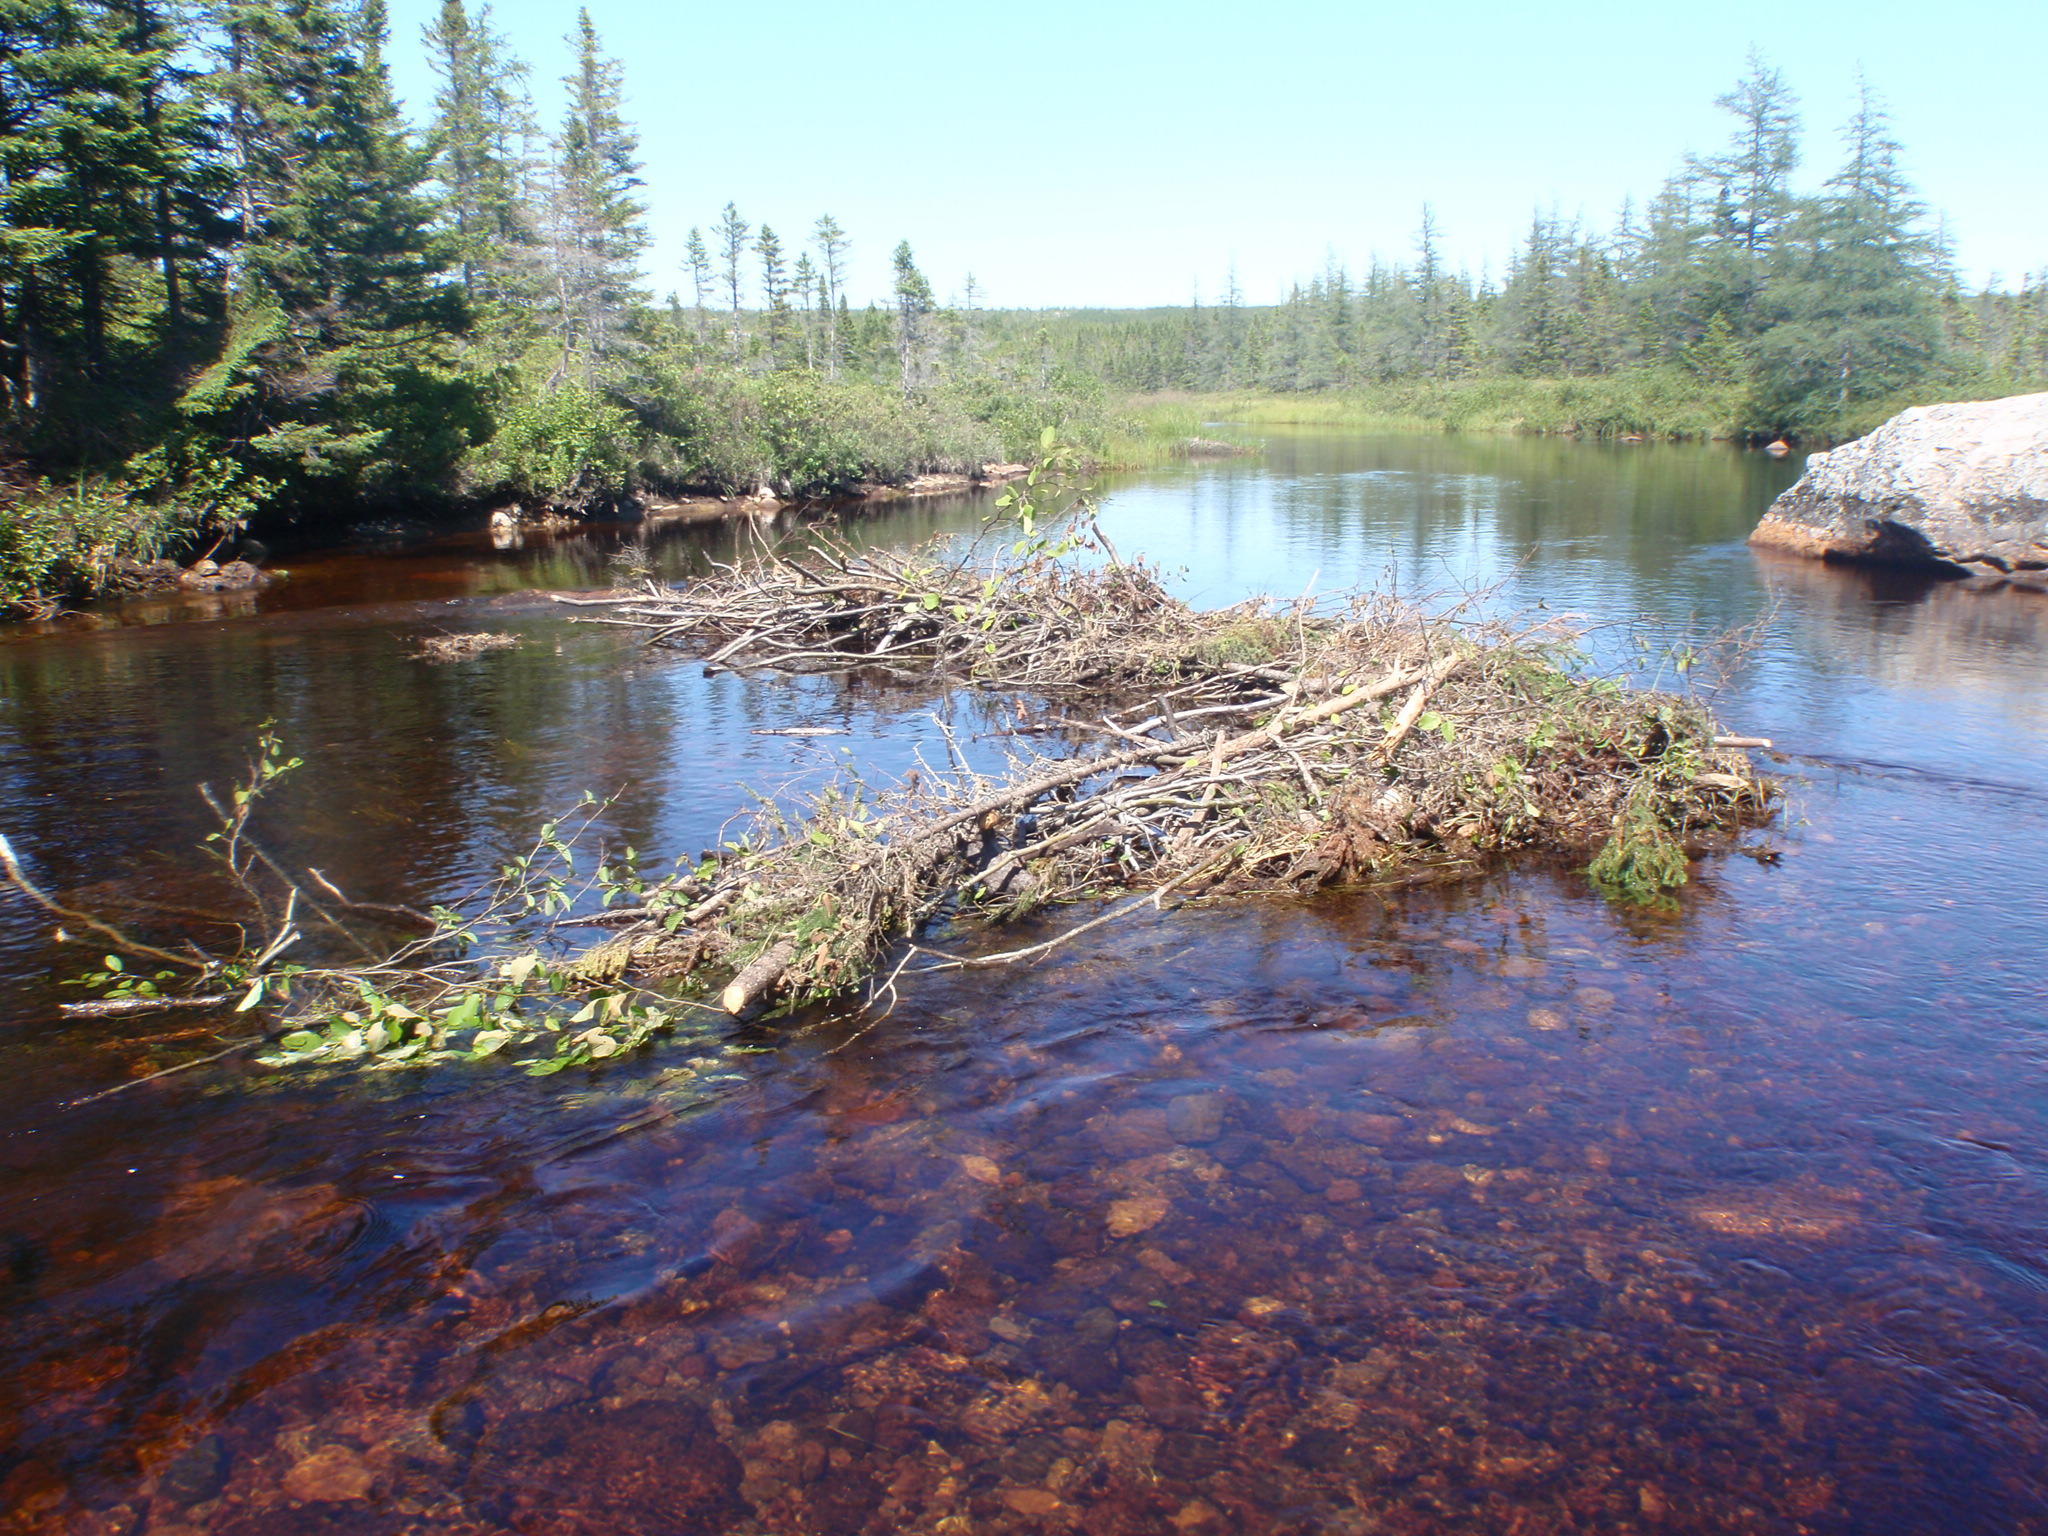
Figure 3: Before (top) and after (bottom) beaver dam removal.
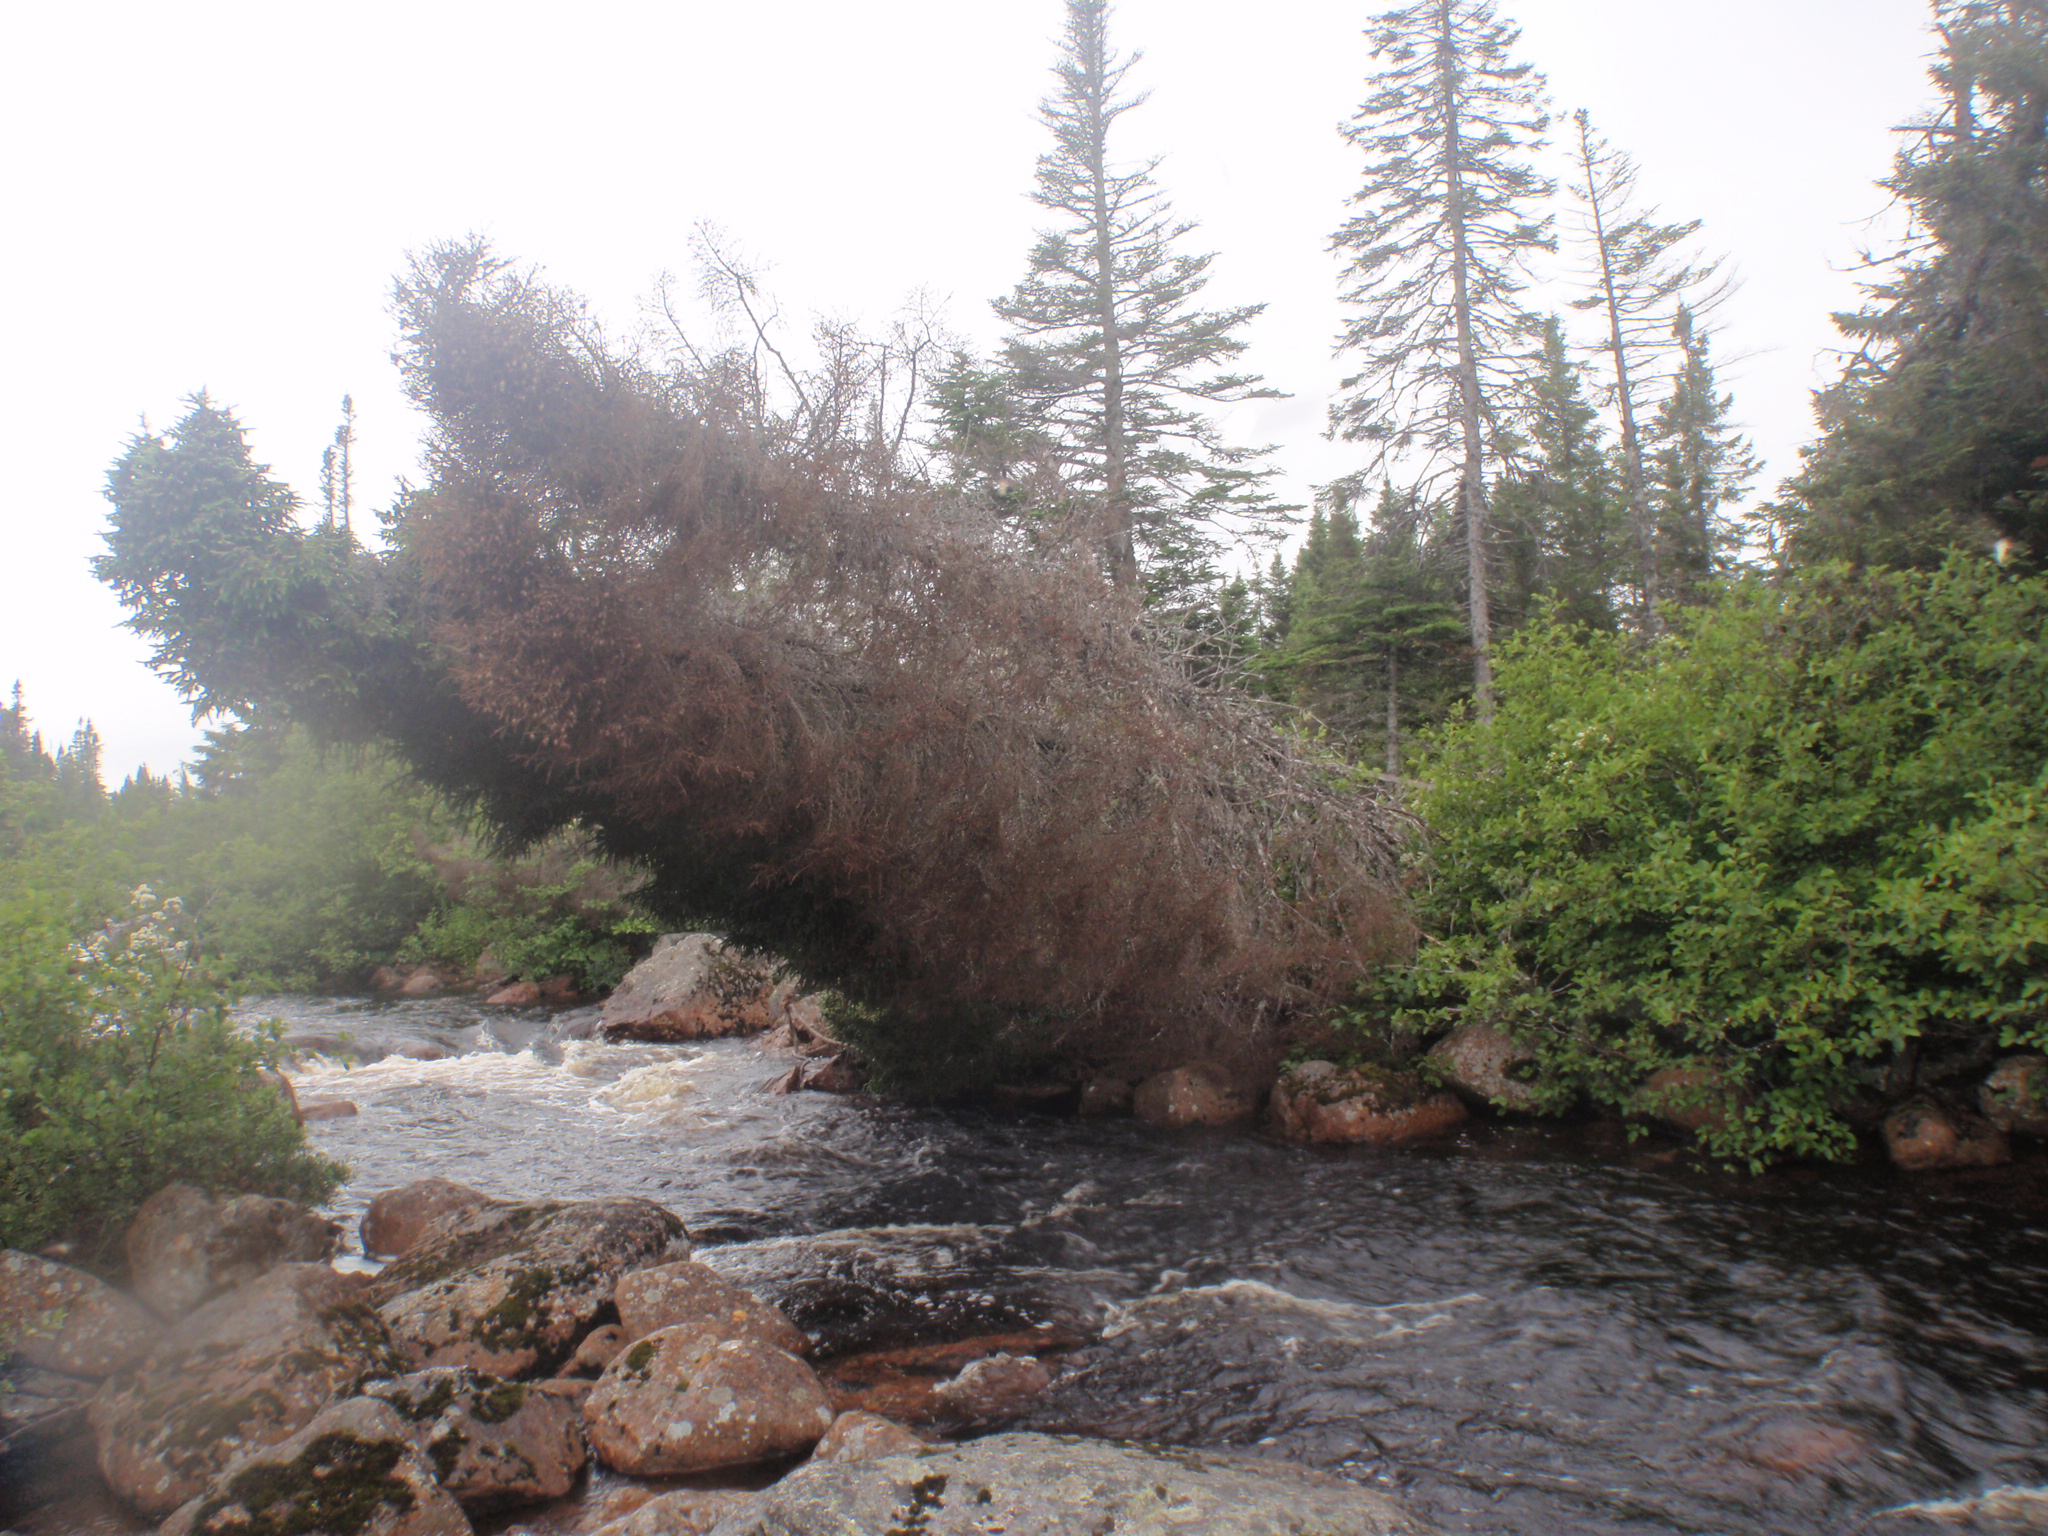
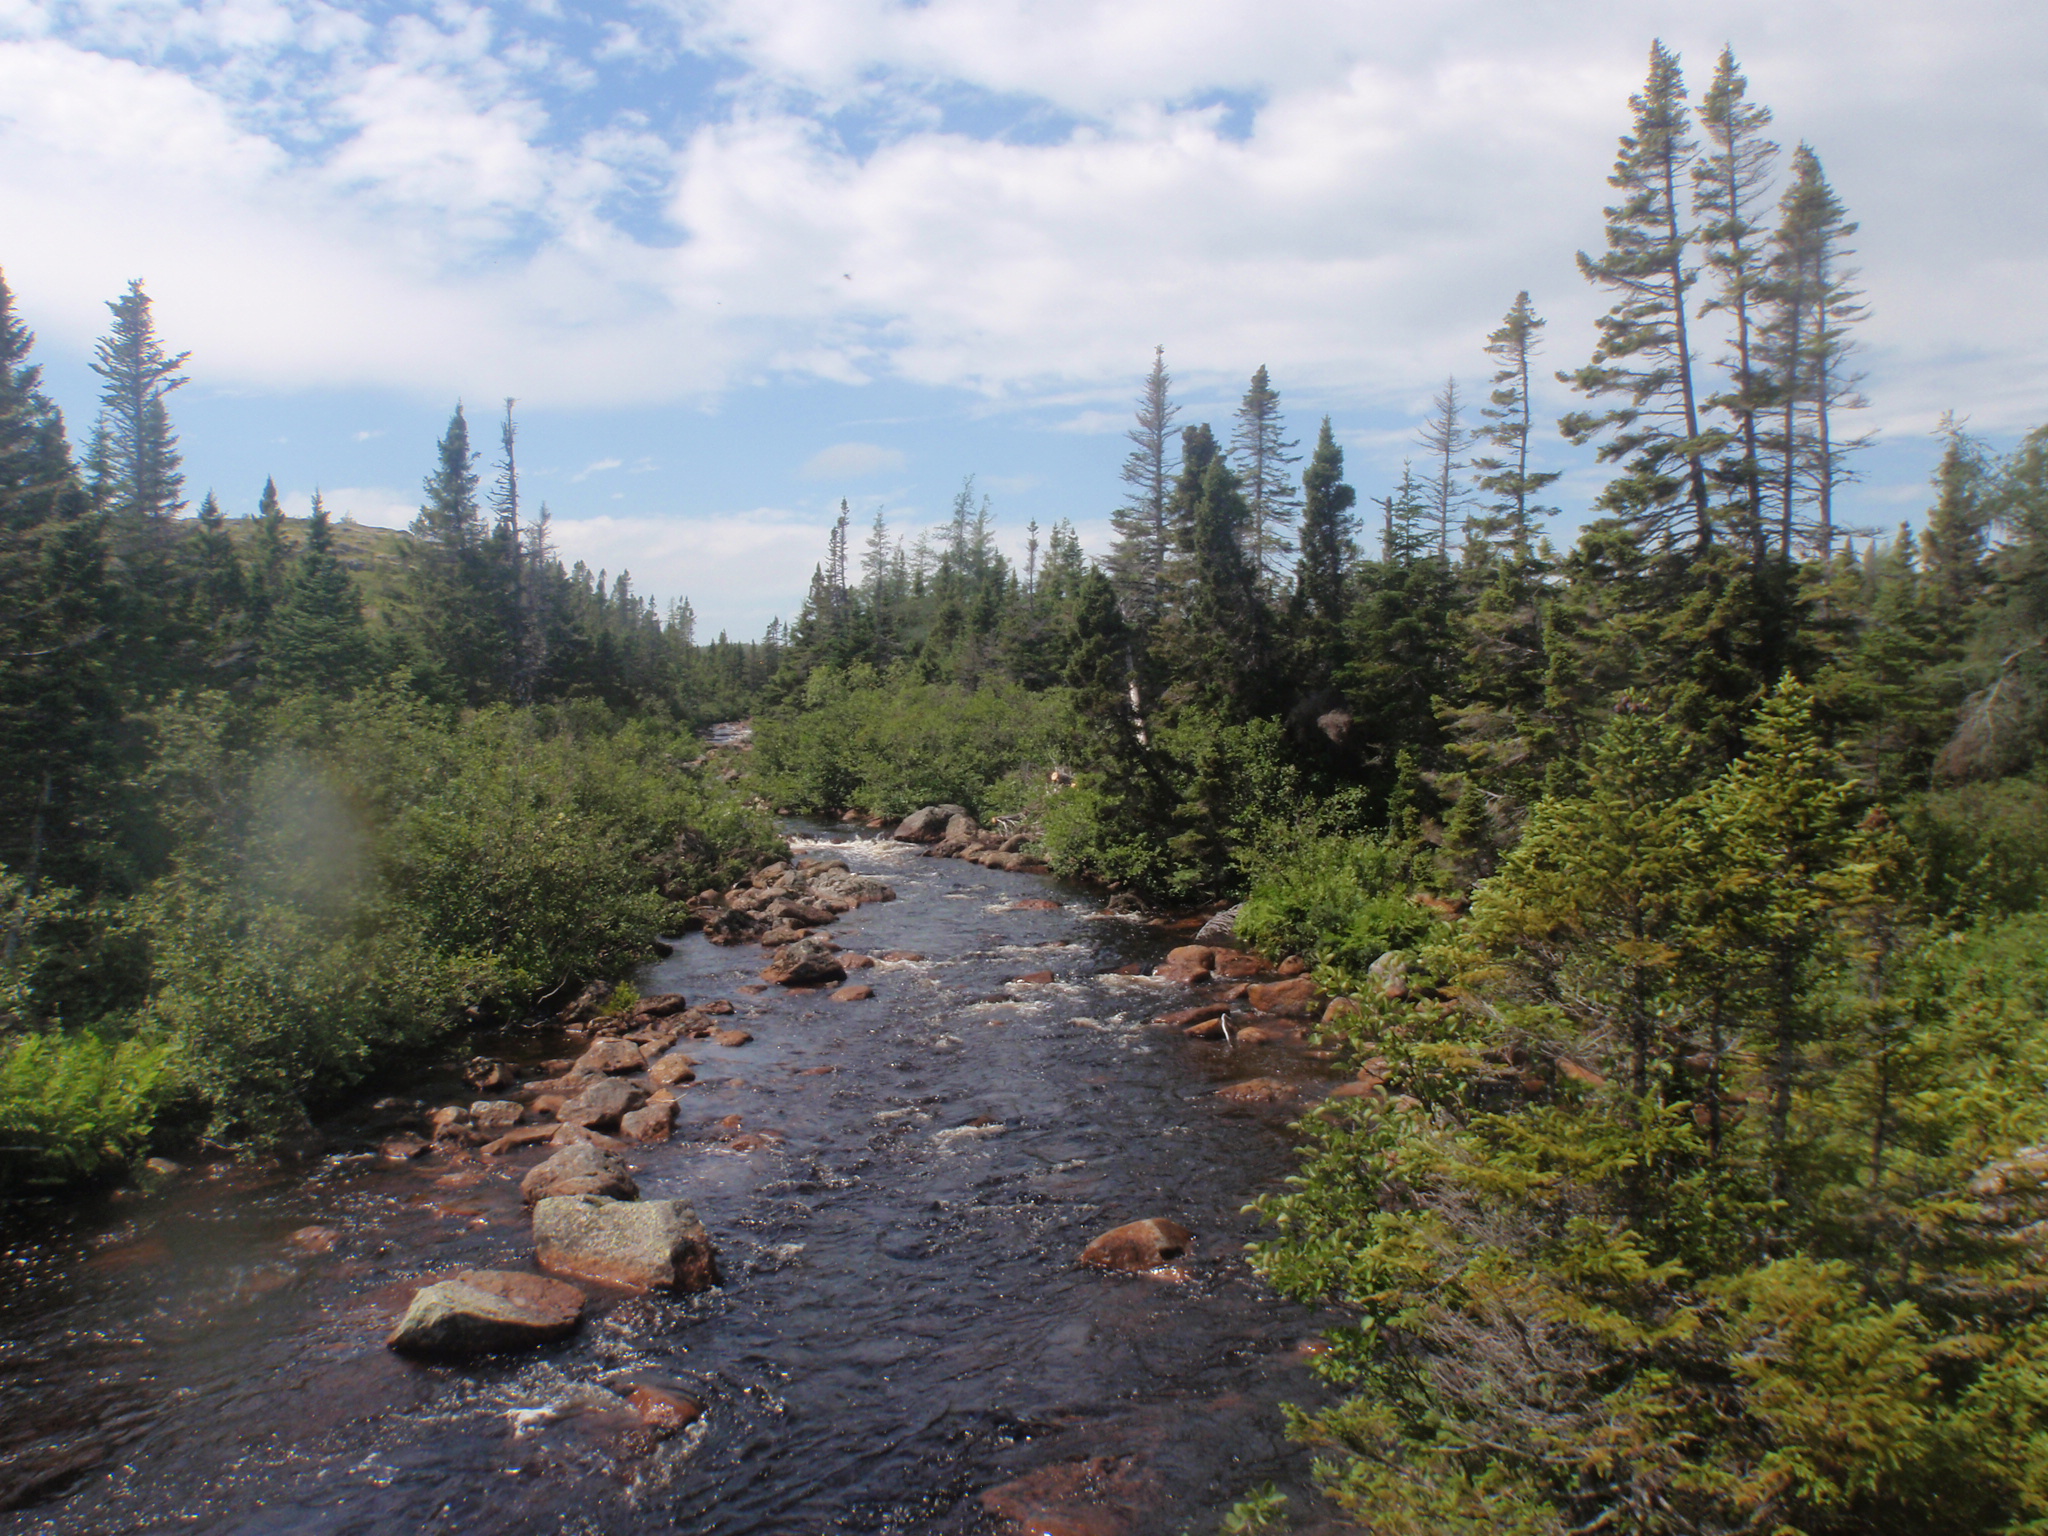
Figure 4: Before (top) and after (bottom) removal of fallen trees.

OLYMPUS DIGITAL CAMERA

OLYMPUS DIGITAL CAMERA
Figure 5: low head weir constructed
